
Edit a user's delegates
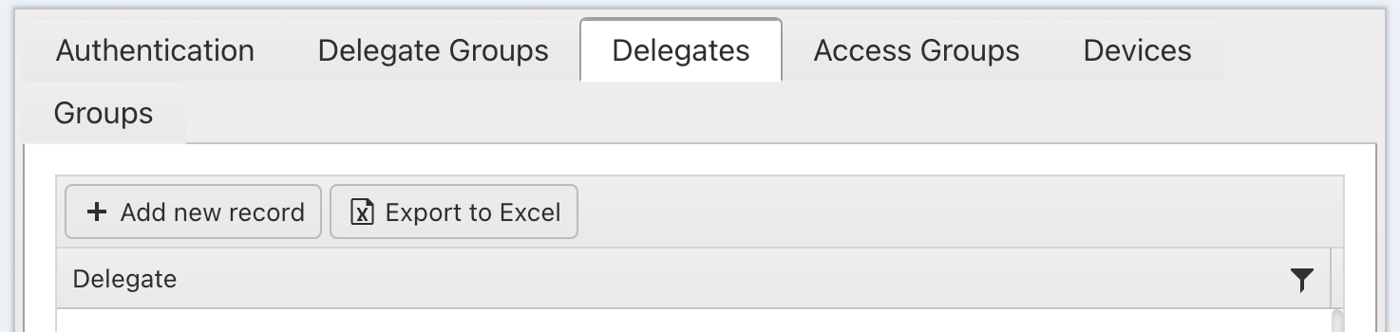
Add or remove the delegates for a user from the Delegates tab on the Users page.
A delegate is an individual person who is allowed to release and manage this user’s held print jobs on their behalf.
Before you start
Only users with the Company Admin role can edit users, and that includes their delegates. If you can’t see the options below, ask your administrator.
Add a delegate to a user
- Open Users. Go to the Users page.
- Select the user. Click the user in the user list.
- Open the Delegates tab. Select the Delegates tab beneath the user’s details.
- Add a record. Click Add new record.
- Choose the delegate. In the Edit window, select the delegate from the drop-down list.
- Save. Click Insert to add the delegate.
Remove a delegate from a user
- Open Users. Go to the Users page.
- Select the user. Click the user in the user list.
- Open the Delegates tab. Select the Delegates tab beneath the user’s details.
- Remove the delegate. Right-click the delegate and select Remove item.
Note. The Delegate Groups tab next to it lists the delegate groups the user belongs to. Members of a delegate group can release and manage each other’s print jobs. See Users.